Sample Student Login
Sample Student Login helps advisors collaborate with students remotely. This login lets you impersonate the student so that you can use Scheduling on their behalf, adding courses and breaks you know that they need that term. When the student logs into Scheduling, these courses and breaks will be waiting for them, so they can move ahead to finding their best schedule.
This also works in reverse: Students can log into Scheduling, add their courses and breaks, and then request that you check it. You then log in as them and review and adjust their choices.
Tip: The Sample Student Login field auto-fills with your email so that you can see a sample student’s view. Simply delete it and enter your student’s ID.
Permissions
There are three levels of permissions related to working students’ schedules, depending on the type of help each staff user will provide. Grant the higher permissions (2 and/or 3) with care:
| Permission Name | Level of assistance | Actions |
|---|---|---|
| Sample Student Login | 1 – Edit schedules for them | Log in as a sample (demo) student to test the system Log in as a specific student to review and work on their schedule on their behalf |
| Student Send to Cart | 2 – Select a schedule for them | Log in as a specific student to generate schedules and select one (Send to Cart) on their behalf Important: The student must still log in and complete registration |
| Student Send to Cart and Register | 3 – Register for them | Log in as a specific student to generate schedules, select one (Send to Cart), and Register on their behalf Grant with discretion: Registering incurs financial and other responsibilities for the student. |
Advising Preparation
Ask the student to log into Scheduling and enter the breaks they need (such as work hours, daycare drop-off, or sports practice) and any courses they want to take.
Having the student do this gives you time to prepare, and the advising session can be most time-efficient.
Advising Follow-Up
If there’s no workable time to meet, you can use the Email option within Scheduling. Log in as the student, add the courses and breaks needed, generate schedules, and email the schedule you recommend to the student.
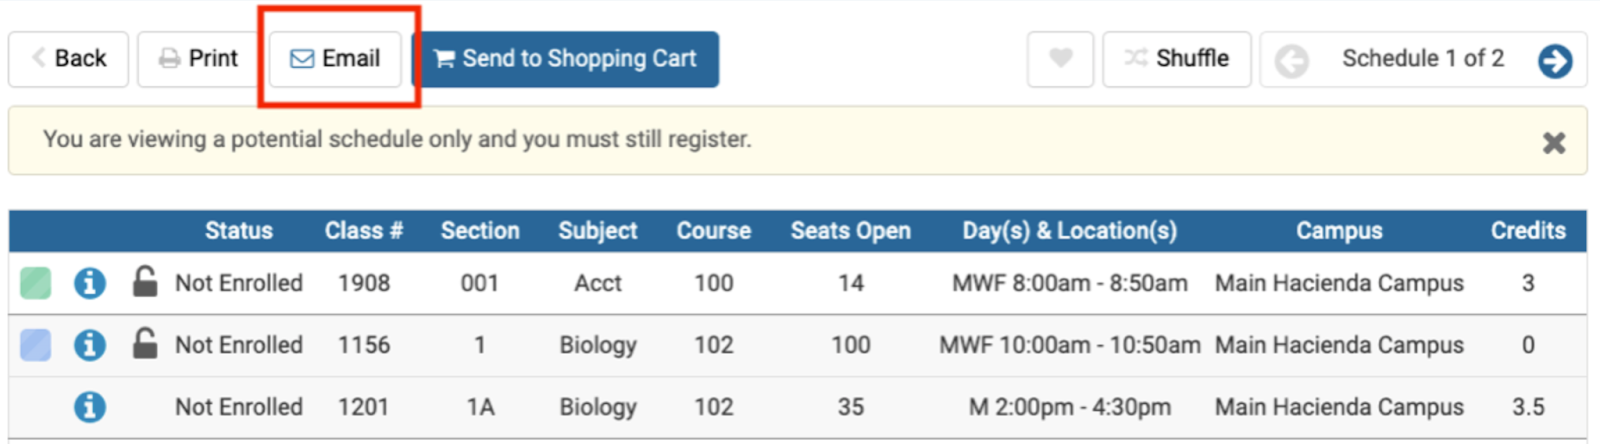
If you do not see an email option on the View Schedules page, contact Support.