Advising Notes
This video provides a quick overview of how Advising Notes work and shares tips on how to best use them to support your work with students.
▶ Video: Advising Notes
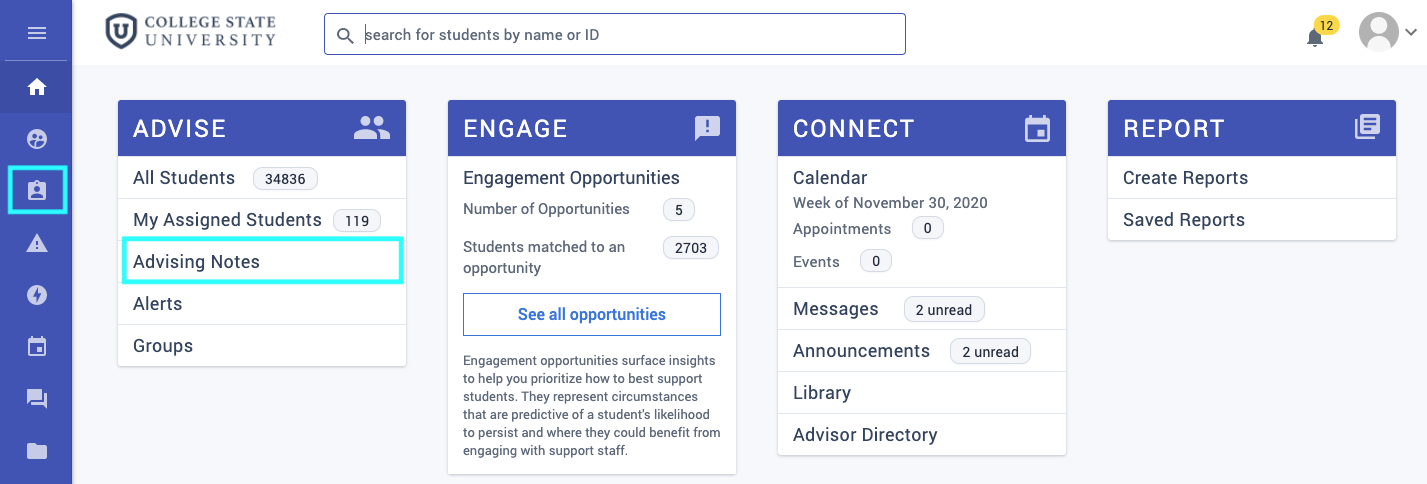
Advising Notes provide space to document important student information and the ability to share it with other support system members using a FERPA-compliant sharing system. Advising note sharing and privacy settings are driving factors behind choosing what SSUs an institution needs. Navigate to advise > advising notes or click the Notes icon on the left-hand column to see notes you have written.
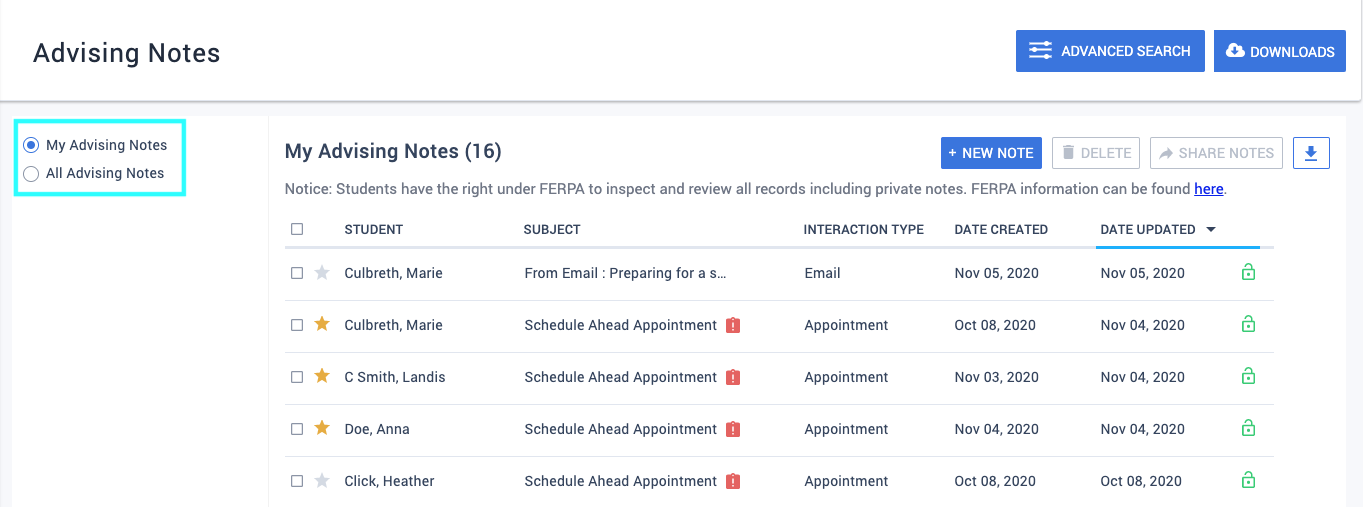
At top left, choose My Advising Notes to see only notes you have written or All Advising Notes to see both your notes and those shared with you.
Create a New Note
There are four ways you can create an advising note:
- The Advising Notes page
- The Advising Note tab on the student profile
- While scheduling an appointment
- While sending a message
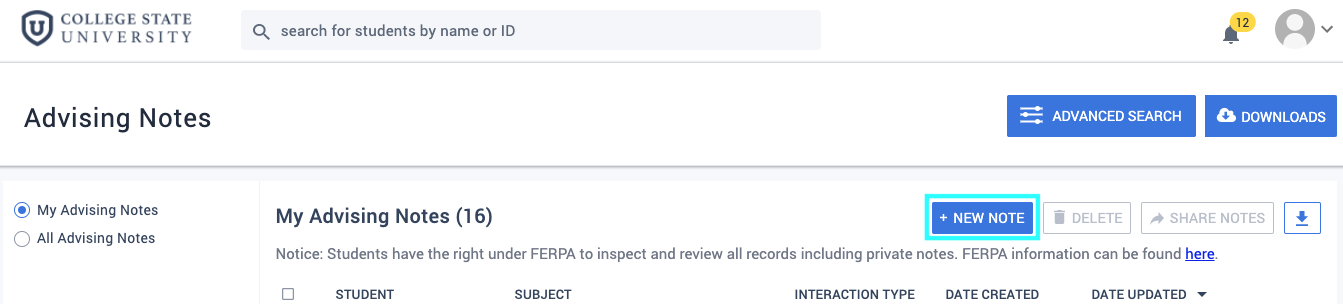
1 – From the Advising Notes page
Navigate to the Advising Notes page and click the button labeled +New Note to open the New Advising Note form.
Enter the student’s name or ID number and make selections for the following:
- Interaction Type
- Session Topics
- Engagement Opportunities
- Note Privacy
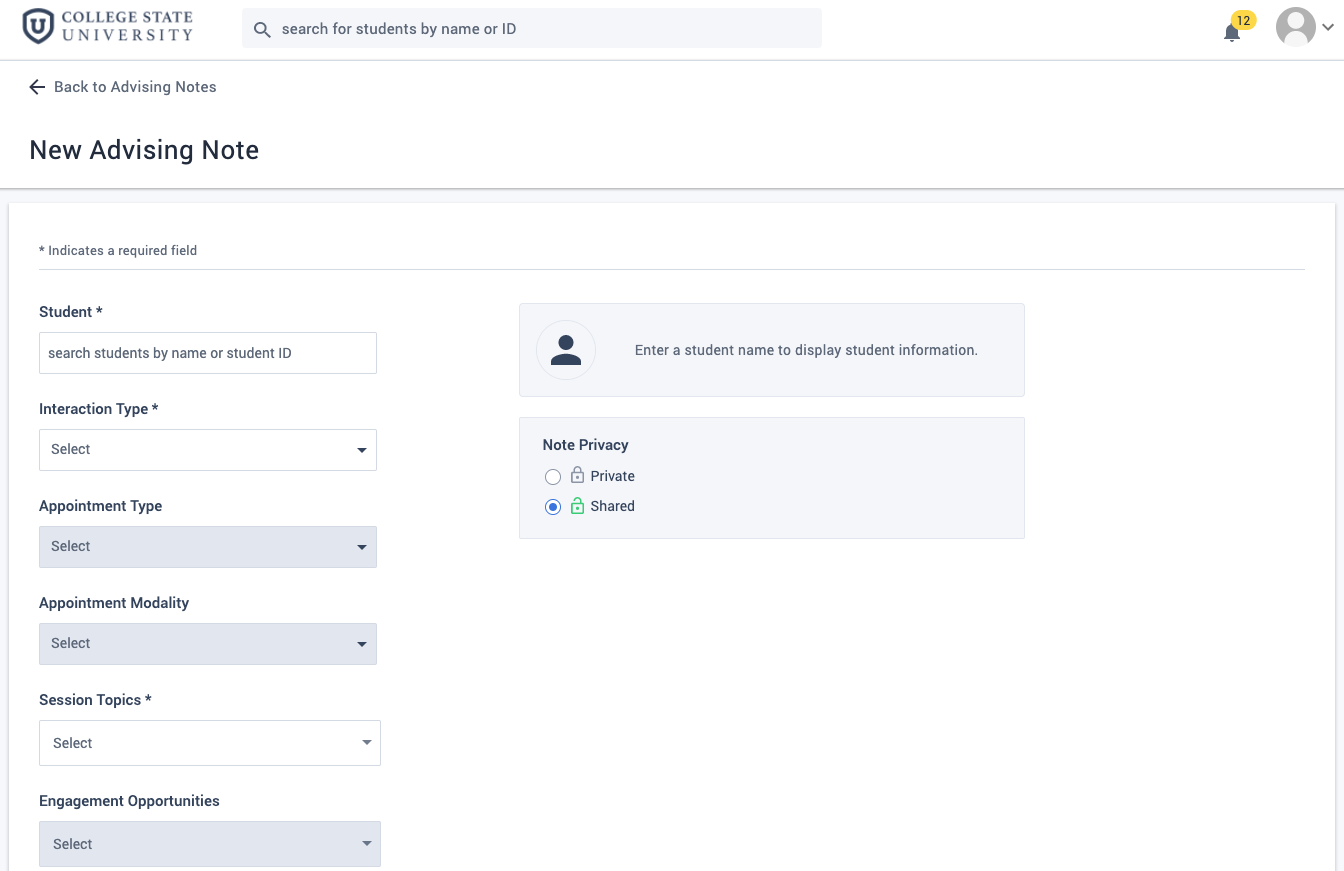
- Interaction Type: Interaction Types are intended to categorize the type of interaction being recorded in an advising note for Reporting purposes. Choose from Email, Phone, Text, or Appointment.
- Appointment Type: This option is only available after selecting Appointment for interaction type. Types can either be schedule-ahead or walk-in.
- Appointment Modality: This option is only available after selecting Appointment for interaction type. Modality can be in-person, phone call, or virtual meeting.
- Session Topics: Dropdown options used to categorize the content of an advising note or advising appointment.
- Engagement Opportunities: If the student is matched with an engagement opportunity, the engagement opportunity field is enabled when creating an appointment and upon editing the advising note. This allows the advisor to associate an engagement opportunity with an advising note.
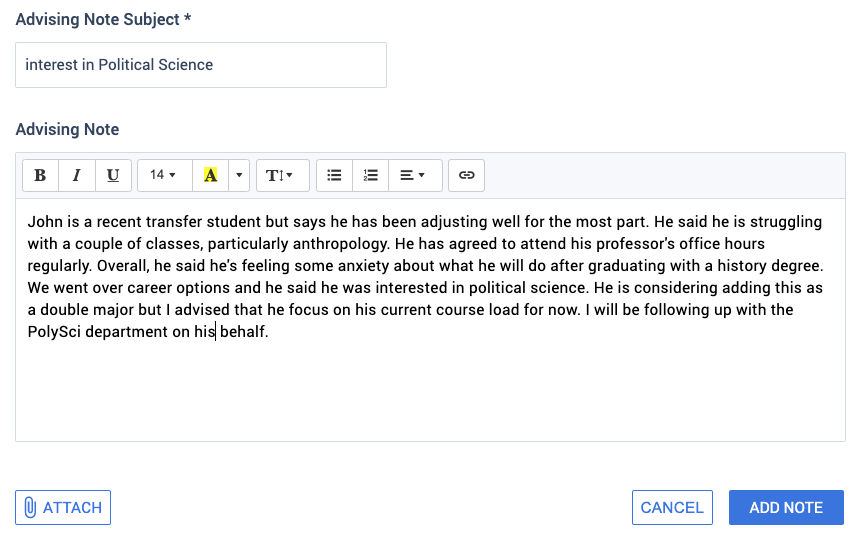
Finish adding the note by entering text for the subject and body, adding any attachments, and clicking add note.
The new note will appear on the advising notes page.

2 – From the student profile
Use the search bar on the dashboard to navigate to a student’s profile and click the Advising Notes tab. This page will show all advising notes for the student.

Click the button labeled +New Note to open the New Advising Note form and add a new advising note to the student’s account.
3 – With an Appointment
Any time an appointment is scheduled, Advising creates an empty advising note shell where advising staff can add notes and view appointment details. Follow the process to create a new appointment, and open the advising notes page.
Tip: You can spot new advising notes created from appointments by the red (incomplete) warning icon on their Subject line.
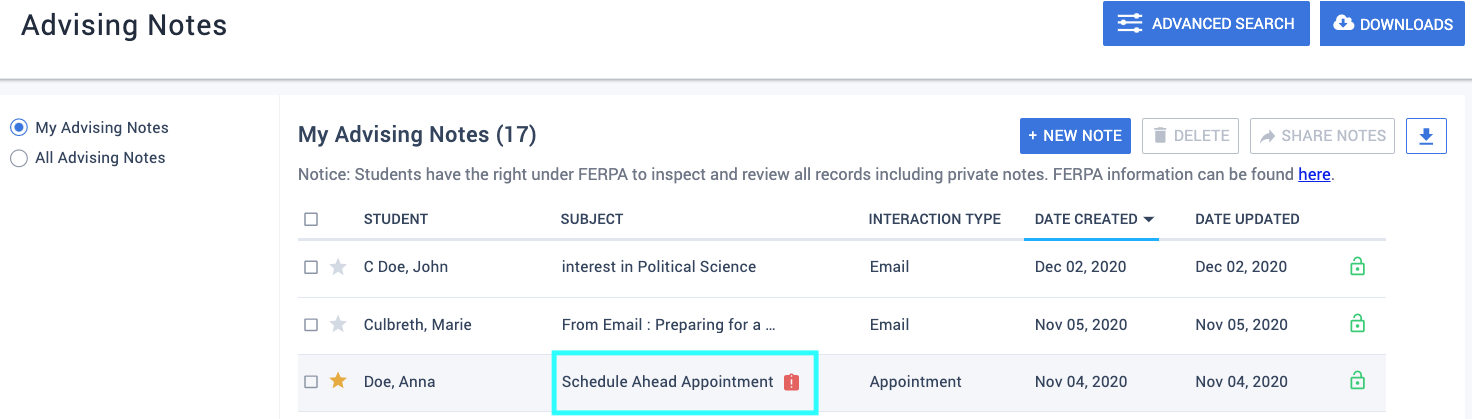
Click on the row with the red icon to open the advising note and view additional details.

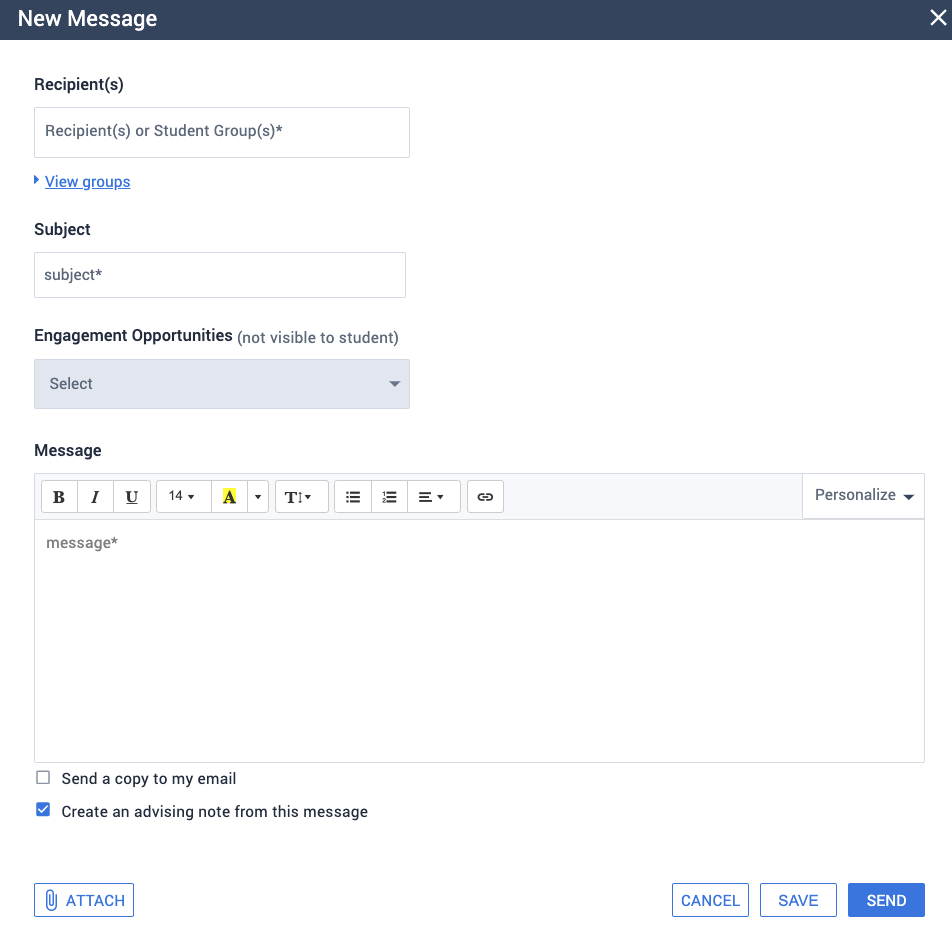
4 – With a Message
When sending a message to an individual or group of students, advising staff can check a box labeled, “Create an advising note from this message” to record the details of the message as an advising note.