Announcements
This video provides an overview of the Announcements section in Advising, specifically through a user who has the Send Announcements permission, and it shares tips on how to best use this feature to support your work with students.
▶ Video: Advising’s Announcements
To access Announcements, open the Communication page from the left-side menu and open the Announcements tab. Unless you also have Manage Announcement permissions, you just see a listing:
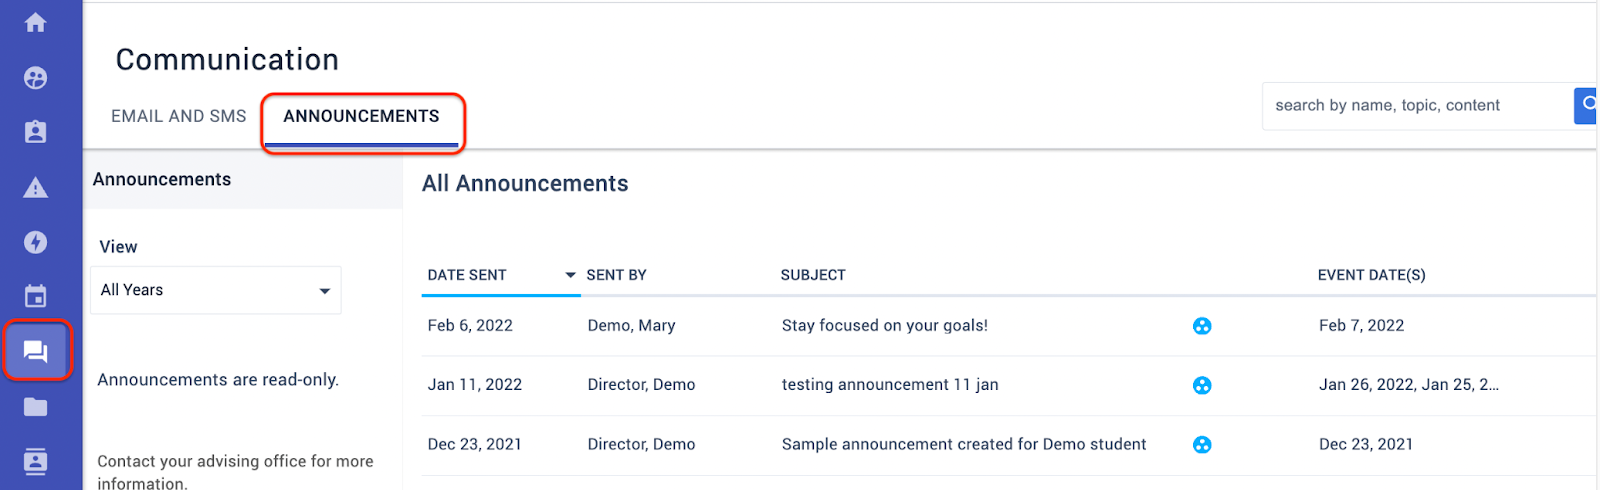
This listing is a read-only, searchable archive of what has been sent to students. Announcements include:
- Announcements sent by your advising office, such as finals week news
- Advising office events sent by your advising office, such as workshop invitations
Send Announcements to Groups
If you have the Manage Announcement permission, you can not only view but also compose, save drafts, and send announcements. Using the calendar button on the toolbar, you can have one or more events included with the announcement.
Tip: For simplicity, first create your event on the calendar. That way, it’s ready for you to select (as an Existing Event) when crafting the announcement.
Important: Select Personalize to add the student’s own name, and always use their Preferred Name.

Good to Know
- When an announcement goes out to students, it is also sent to all advisors, and advisors will see events on their calendars.
- No other advisors can edit announcement drafts or events that you create.
- You can add student groups either by typing in the Recipients box or by using the View Groups fields to look up and add from there.
Tip: You can keep your own informal template library of announcement text by keeping them as Drafts and then copying their contents to new announcements, for actual completion and sending.