Plan Templates
Students need the structure of prebuilt degree sequences (templates) to follow in creating their own plans. Templates formalize your institution-specific guidance on which courses to take and in what order, so that students can complete their degree path on time.
Note: You need the Manage Template permission to create, copy, and archive plan templates.
Template Library
The Plan Templates library (select the blocks icon on the sidebar) holds templates centrally for your entire institution. This central library lets you view template details and share them directly with students.
Tip: All columns are sortable. Select a column heading, such as Major, to sort the templates alphabetically by that column; select the heading again to sort them in descending order.
Search — Use the search box to determine if the template you need exists yet. Use search words that appear in the template’s Title.
Example: If you know the template is for the College of Agriculture but that word doesn’t appear in the template title, searching on “agriculture” won’t list it.
Status — Shows you whether the template is available for student planning:
- PUBLISHED — Green means the template is visible and read-only, available for you to APPLY to student plans.
- DRAFT — Blue means the template is writeable but can be seen only by its creator.
This is the only mode in which edits may be made to a template. - ARCHIVED — Gray means the template is read-only. No one can APPLY it to student plans.
Applying Templates
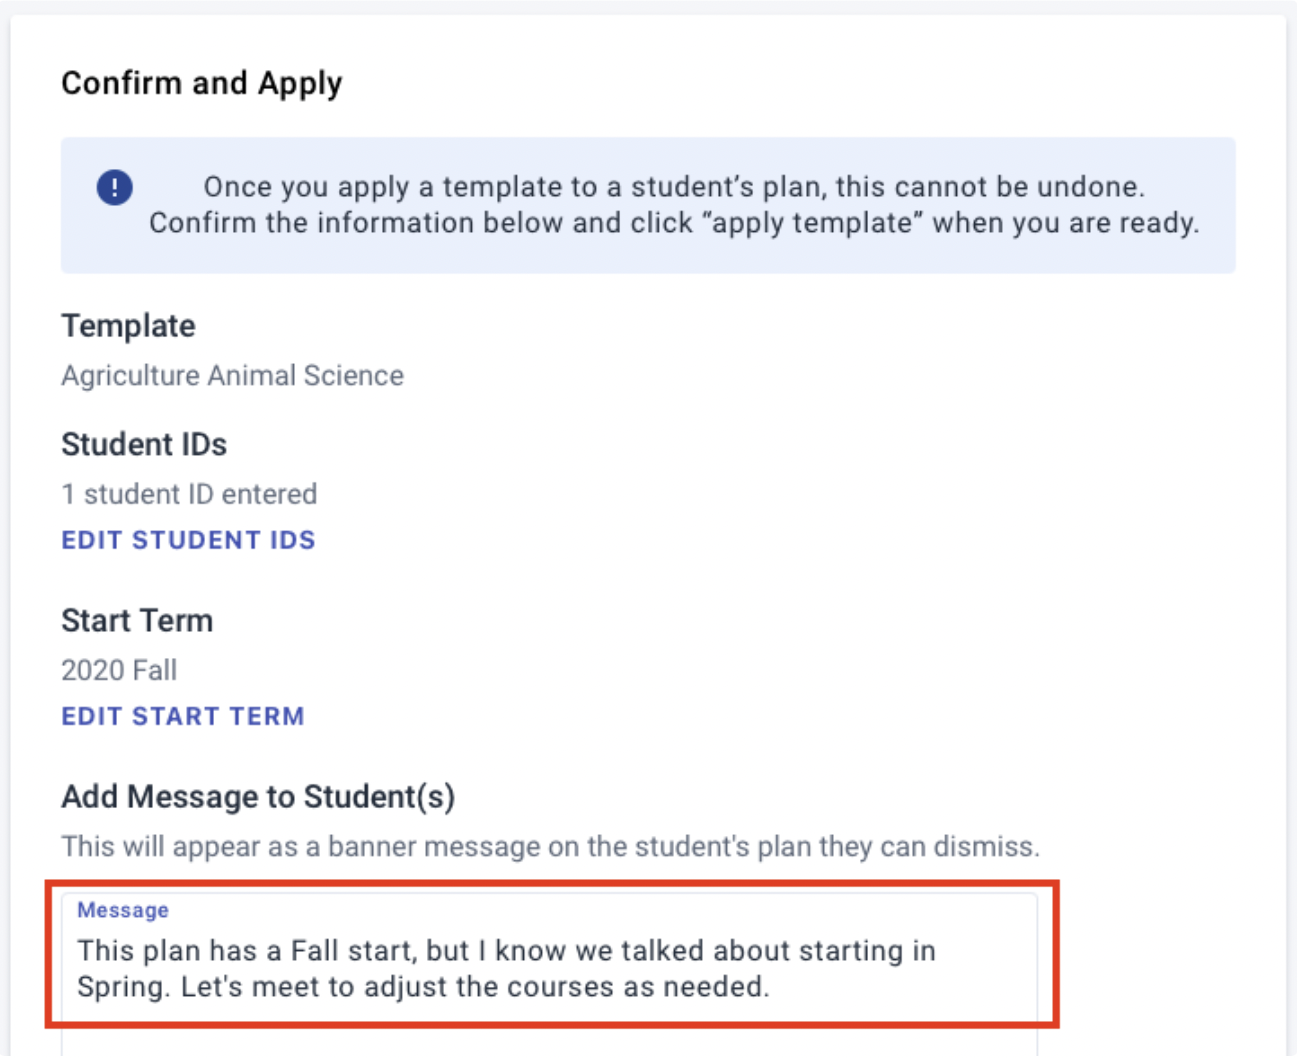
You can apply templates for individuals or for groups of students, whenever needed. You can also add personal messages for the student to see on their plan:

Good to Know
- Templates populate terms according to their calendar pattern: if the template starts in a Fall term, the possible start terms must be Fall terms.
- Applying a template is non-destructive: the student’s current plan is saved, and your template populates their new Primary plan.
- To undo applying a template, restore the prior plan to being Primary and then delete the new one.
- Plans are not retroactive: the Apply Template wizard will prompt you for the Start Term (current or future only), which is where it will begin populating the plan.
- If you are trying to apply a template with a course that is no longer active (effectiveStatus is NOT “active”), you will be alerted so that you can update it.
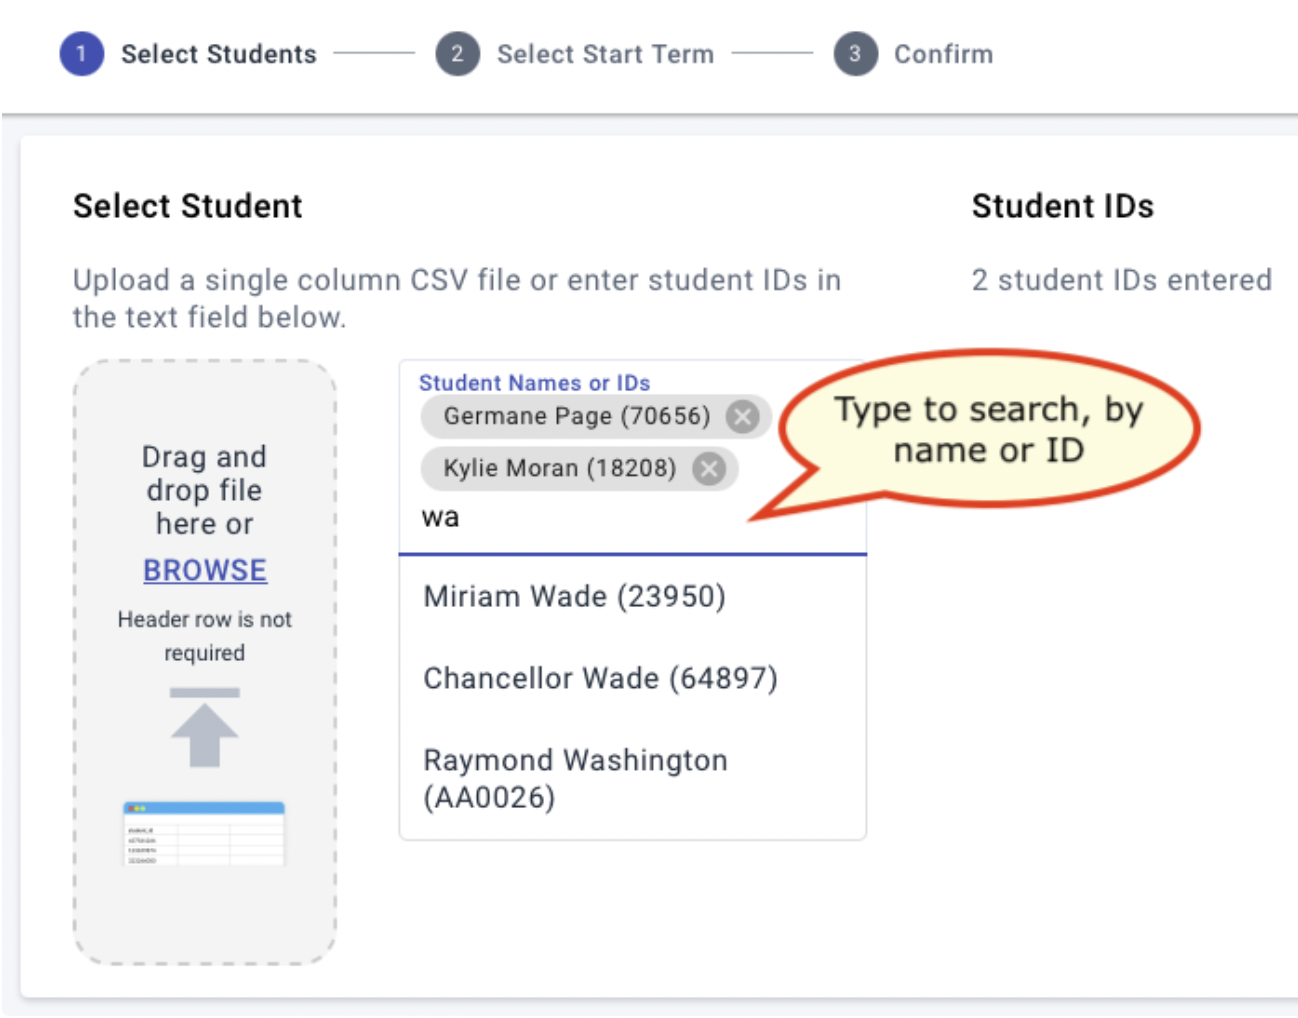
Look Up Students
While viewing the template you want to use, select the Apply button at the top right, and select your student by looking them up by name or ID in the search box. You can look up additional students as needed.
Finish the wizard: Select the Start Term, confirm your entries, add a message, and select Apply Template.
Upload Students
It’s no harder to push out new templates to groups of students. Although you can look up students one at a time, take advantage of the uploader:
- From an Advising student list or another source, collect the IDs of the students whose plans you need to update.
- Paste them into a text file (one ID per line), and save it as a .CSV file.
- Double-check that the IDs you have are correct; the system does not validate the IDs during the upload step.
- Select the Apply button at the top right, and browse to or drag your .CSV file to the Select Student pane.
- Finish the wizard: Select the Start Term, confirm your entries, add a message, and select Apply Template.